- Products & services Products & services
- Resources ResourcesCustomer resources
- Customer resources
- Customer support Find more information about engaging support and get help
- Services guide Find more information about working with Services teams
- Free resources Leverage our free tools and trainings
- Modernize to Identity Security Cloud Transition to the cloud for advanced capabilities and a future-ready security posture
Learning- Learning
- Identity University Get technical training to ensure a successful implementation
- SailPoint professional certifications & credentials Advance your career or validate your identity security knowledge
- SailPoint recertification program Get recertified by demonstrating ongoing learning
- Training onboarding guide Make of the most of training with our step-by-step guide
- Training FAQs Find answers to common training questions
- Community Community
- Compass
- :
- Products
- :
- File Access Manager
- :
- File Access Manager Wiki
- :
- Creating an ElasticSearch DataSource
- Article History
- Subscribe to RSS Feed
- Bookmark
- Subscribe
- Printer Friendly Page
- Report Content to Moderator
Creating an ElasticSearch DataSource
Creating an ElasticSearch DataSource
We often get questions on how to create custom activities reports, ones which can't be created by using the standard forensics available in the SecurityIQ administrative client.
An example for such a report, is an aggregation query (aka. Group By in SQL).
This wiki is provided as an example for how to create a data source within SecurityIQ which will run an elasticsearch query, by using the User Exit data source type.
The example assumes you are familiar with the json structure of SecurityIQ activities in elasticsearch, and you have the knowledge on how to create the desired elasticsearch query. The query below is an example
for a date histogram query with an aggregation.
If you need help and explanations on the json structure, its best if you'll query the elasticsearch and get a live example. The activities json is pretty self-explanatory.
Let's say I want a new data source, detailing all of the people who made both a create action and a delete action on the same day.
My elastic mapping looks like this:
{
"both_actions": {
"mappings": {
"event": {
- "properties": {
- "actions": {
- "type": "text",
- "fielddata": true
- "object_name": {,
- "type": "text",
- "fielddata": true
- "time_stamp": {,
- "type": "date",
- "format": "yyyy-MM-dd HH:mm:ss"
- "type": {
- "type": "text",
- "fielddata": true
- "actions": {
}
Meaning I have action, object_name (User) and type textual fields, and a timestamp.
First we must create a query, to produce the needed results. The following will get us what we need:
{
"size": 0,
"query": {
- "constant_score": {
- "filter": {
- "terms": {
- "actions": [
- "create"
- ,
- "delete"]
- "actions": [
- "terms": {
- "filter": {
"aggs": {
"by_name": {
"terms": {,
- "field": "object_name"
"aggs": {
"by_day": {
- "date_histogram": {,
- "field": "time_stamp",
- "interval": "day"
- "aggs": {
"by_action": {,
- "terms": {
- "field": "actions"
"min_bucket_selector": {
"bucket_selector": {
- "buckets_path": {,
- "count": "by_action._bucket_count"
- "script": {
"inline": "params.count >= 2"
- }
}
}
- }
}
}
The first part is the query area. This tells the elastic to search for the terms "create" and "delete" in the actions field.
Next is the "aggs" area. Elastic search isn't built to handle join-like requests that checks several records against each other.
Instead, we will use aggregations in order to get our results:
The first aggregation is by name: We "group" all of the records by the user's name.
Next is the date aggregation: we use a date histogram to group the results further by day.
finally we have the action aggregation, that groups by action.
the final part is the "min_bucket_selector". If we run this query without this part, we will get all the aggregated data, but also the users with only one action per day. or none at all.
This part tells the elastic to only fetch buckets ('group_by's) with 2 or more results, AKA create AND delete actions.
Now that the query is ready, we need to make a batch applet that will run it.
The SecurityIQ mechanism for custom data sources involves running a .BAT file and getting the data it's standard output (the data it prints to the console).
ES of course works with the JSON format, so to make our lives easier we will parse the JSON response using Powershell commands.
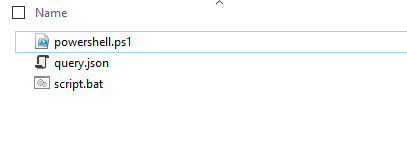
This is my script folder, containing three items:
1. script.bat: The entry point that runs the query and activates the powershell script.
2. query.json: The query we made in the previous step.
3. powershell.ps1: The powershell script that parses the JSON response from ES.
Here is the batch script:
@echo off
>output.json (
curl --silent -XPOST "http://%2" -d @%1\query.json
)
Powershell.exe -executionpolicy remotesigned -File %1\powershell.ps1
del output.json
The first part is querying ES using the query we wrote, and saving the response to an output file. %1 and %2 are parameters, in this case representing the script's path and the ES address, respectively.
The next part activates the Powershell script and deletes the output file.
The Powershell script looks like this:
# Load json file
$content = Get-Content "output.json" -Raw
#Convert JSON file to an object
$JsonParameters = ConvertFrom-Json -InputObject $content
# This is the list of names
$namesArray = $JsonParameters.aggregations.by_name.buckets
# CSV Header
Write-host Name@Date
# Going over the names aggregation
foreach ($name in $namesArray)
{
# This the date aggregation
foreach ($date in $name.by_day.buckets)
{
$myName = $name.key
$myDate = $date.key_as_string
Write-host $myName@$myDate
}
}
First we load the output file, then convert it to a powershell object (PSO) using ConvertFrom. This generates an object where the properties are fields in the JSON.
Please note, we need to know exactly in what format the response JSON is.
SIQ needs us to first print the "header", AKA the column names, so we do that (In this case, the delimiter is a '@' sign, but it can be whatever).
In our case, the first aggregation (by_names) is in "aggregations.by_name.buckets". We go over it, and in it over each date aggregation
For each aggregation we print the person's name and the date, with the delimiter.
If you need help finding out the properties of the PSOm use this code while testing your script:
foreach($prop in $JsonParameters ) {
$propValue=$test | Select-Object -ExpandProperty $prop.Name
$prop.Name + "=" + $propValue
}
It'll print the names and values of the properties.
When started through the commant prompt, the result of all of this should look something like this:
Name@Date
john@2017-01-10 00:00:00
john@2017-01-12 00:00:00
steve@2017-01-11 00:00:00
jeff@2017-01-13 00:00:00
jeff@2017-01-14 00:00:00
mark@2017-01-12 00:00:00
The final part is creating the DataSource in SIQ:
System -> Data Sources -> New
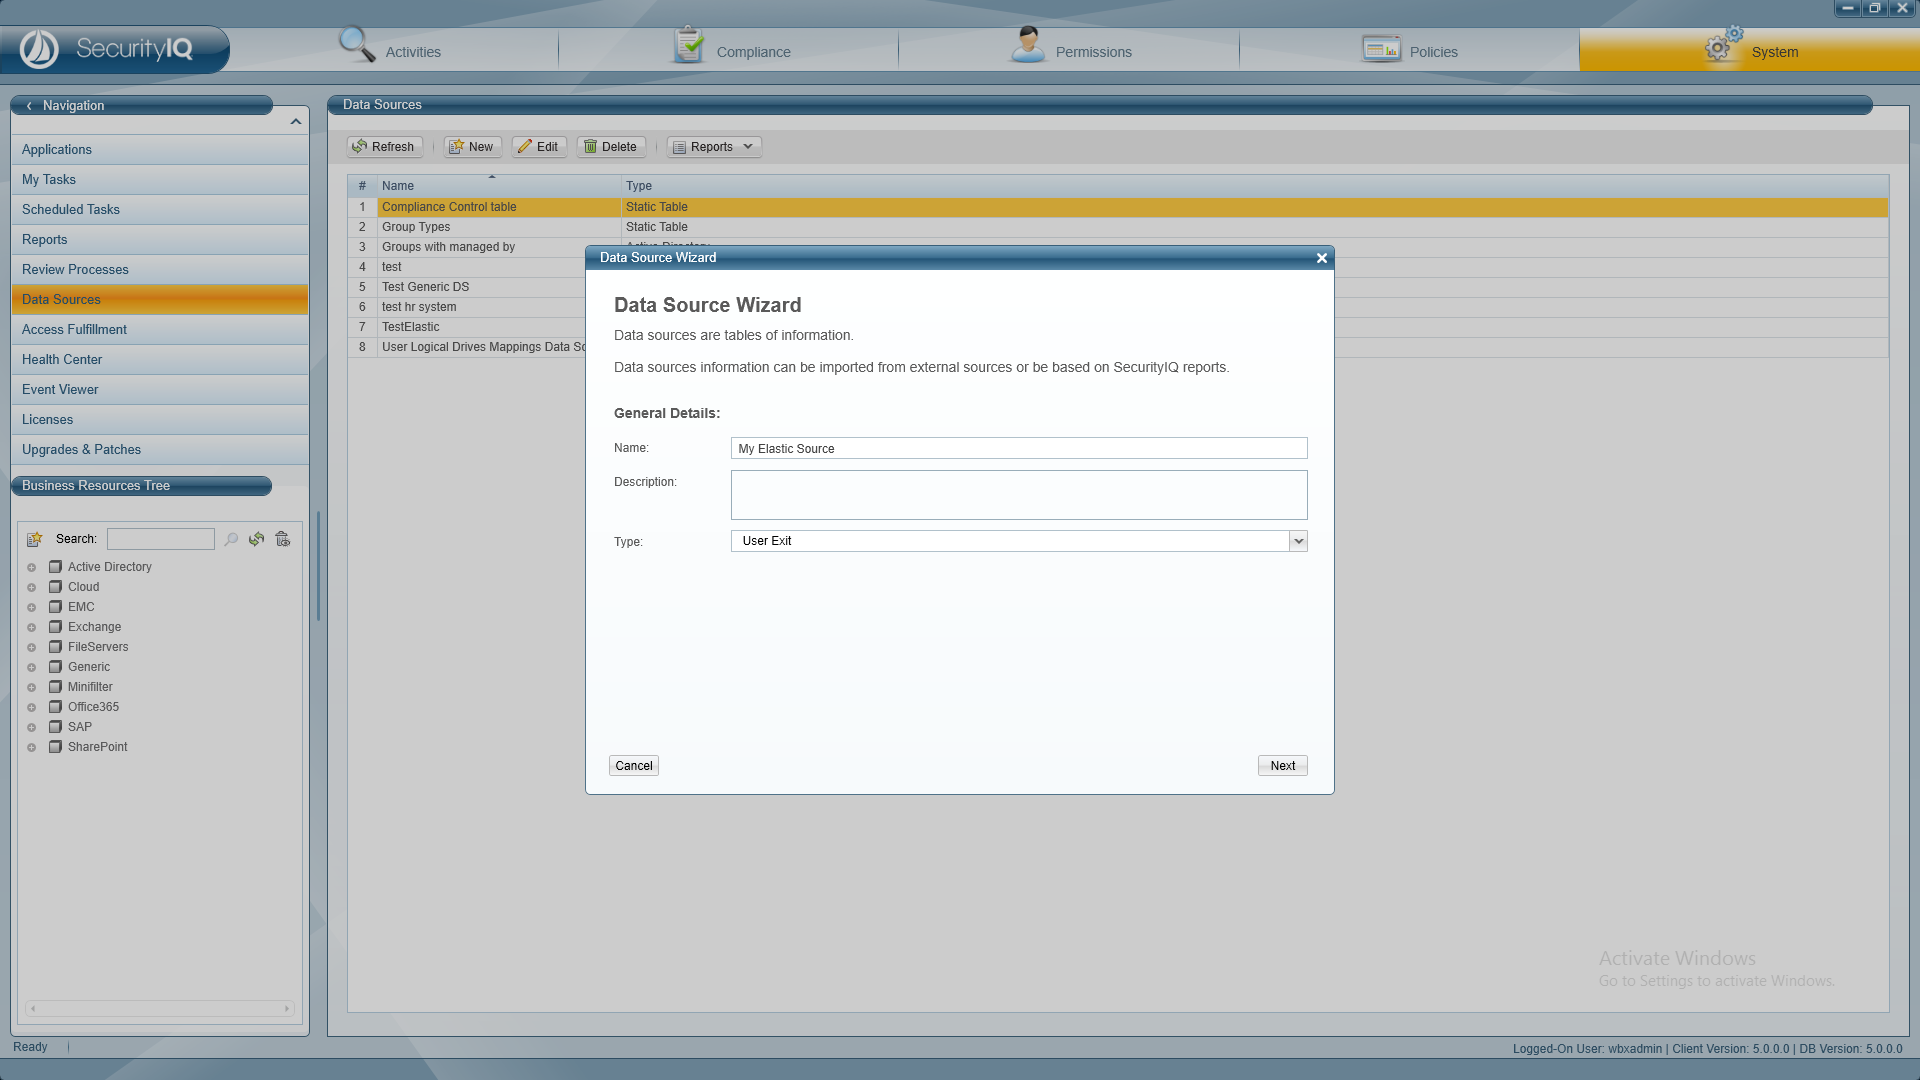
Enter a name, choose "User Exit" and press next.
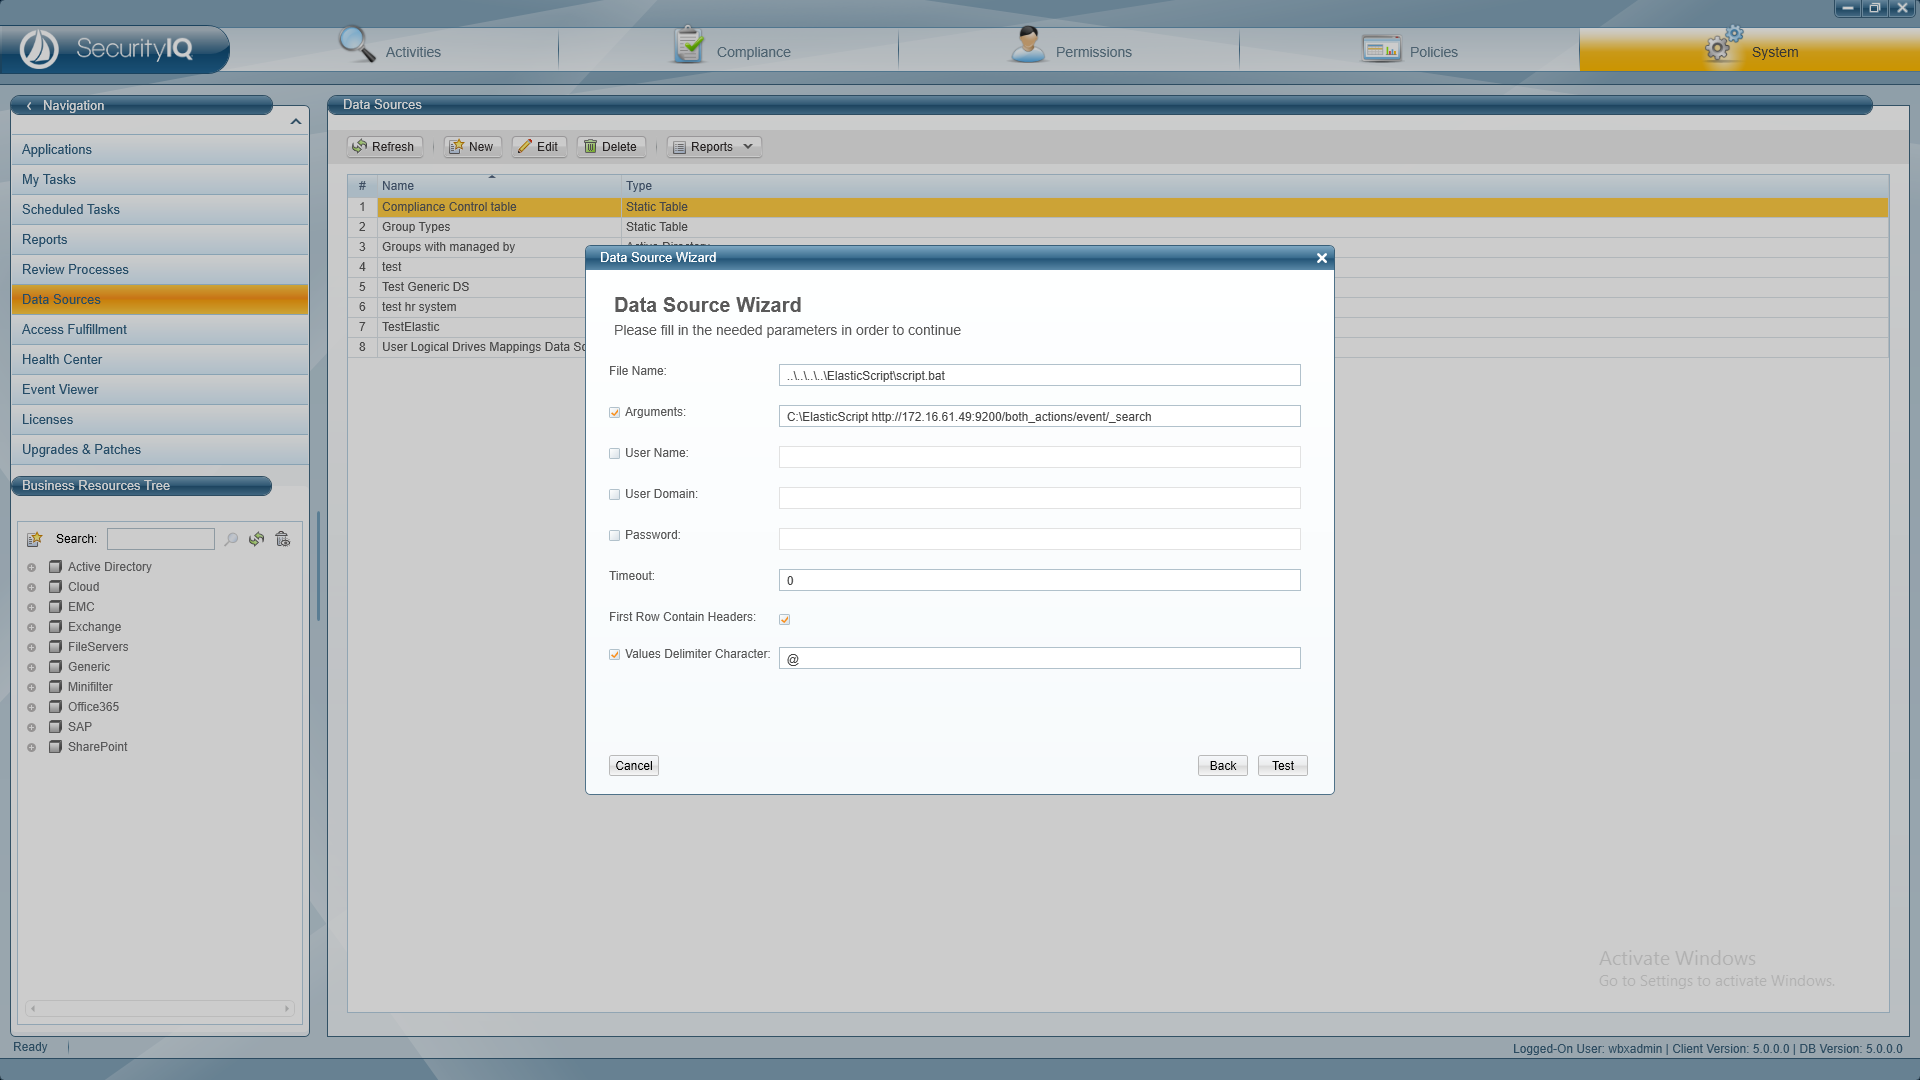
File name: The batch script's relative path.
Arguments: Press the check mark, and enter the script's absolute path, and the ES address.
First Row Contains Headers: Check.
Values Delimiter Character: The one you chose in the powershell script, in this case '@'
Press Test:
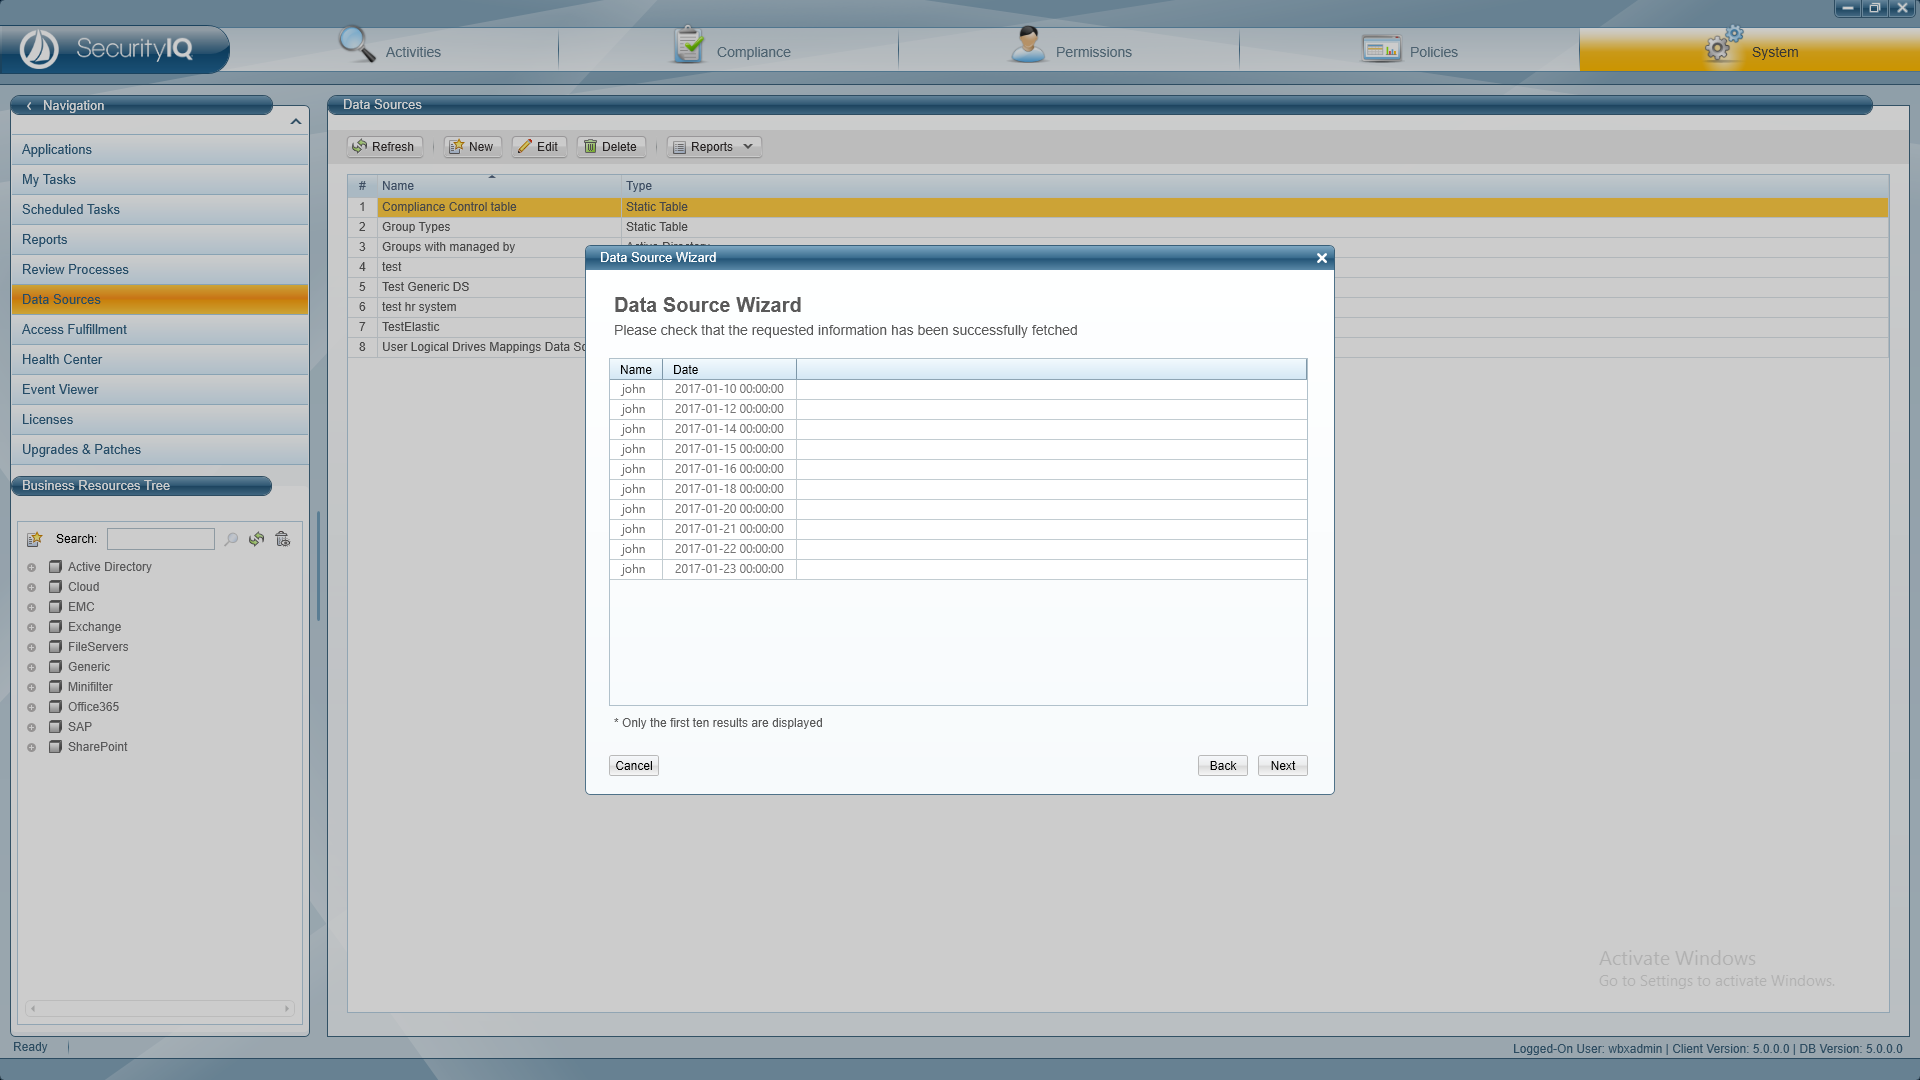
You should see the first 10 rows from the output.
Click next and proceed as with any Data Source (Joins etc.)
And that's it!
